Install via the pvtx web UI
The pvtx web UI lets you upload a container package to a device using only a browser — no pvr post or direct network access to the pvr endpoint required. You still use the pvr CLI on your workstation to build the package, then transfer it via the browser.
Prerequisites: pvr installed on your workstation (install guide) and the device reachable on the local network.
1 — Build the Container Package
On your workstation, create a fresh pvr project and add the container you want to install.
mkdir myapp-pkg
cd myapp-pkg
pvr init
Add the container from Docker Hub, setting --platform to match your device:
pvr app add myapp --from myorg/myapp:latest --platform linux/arm64
pvr add .
pvr commit -m "add myapp"
Export the project as a .tar.gz bundle that pvtx can consume:
pvr export myapp.tar.gz
This archive contains the container's SquashFS rootfs, its LXC config, and the revision metadata.
2 — Upload via pvtx
Open a browser and navigate to the device's local web UI:
http://<device-ip>:12368/app
-
Click "Begin new transaction" to open the update panel.
-
In the "Drag or click to upload new part" area, drop
myapp.tar.gzor click to pick the file.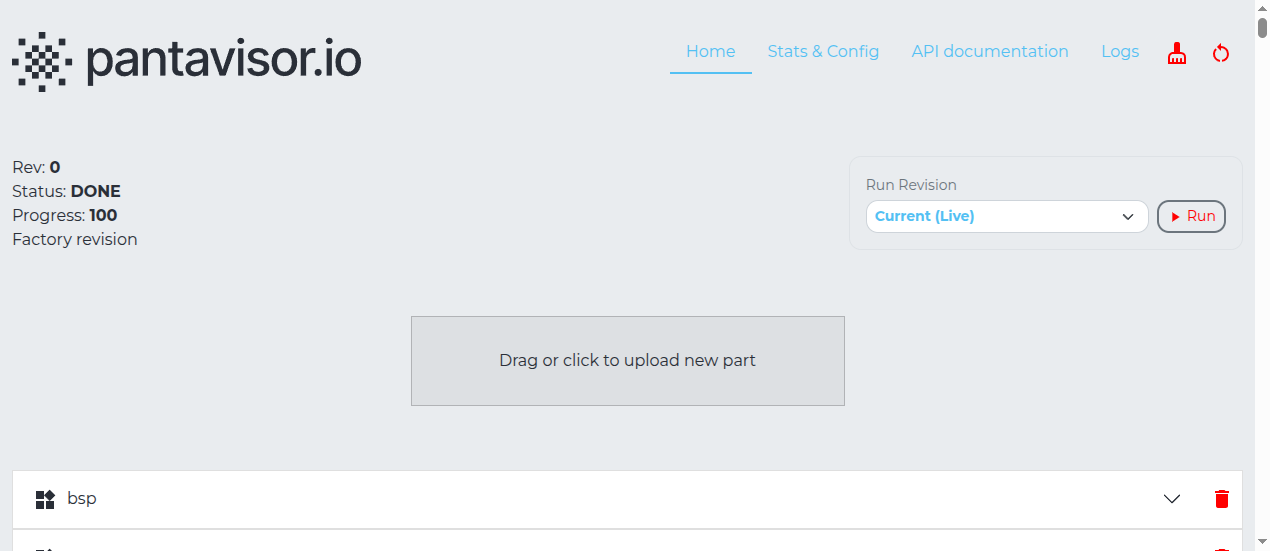
-
Commit the transaction from the toolbar to apply the change.
Pantavisor writes the uploaded container as a new pending revision and reboots. If the revision boots cleanly, it becomes the new permanent state.
3 — Verify
After the device reboots, check from the serial console or SSH:
lxc-ls -f
The new container should appear as RUNNING. You can also confirm in the pvtx UI revision history at http://<device-ip>:12368/app.
Note: If a debug shell appears on the serial console after the reboot, the device is waiting for confirmation before committing. Follow the on-screen instructions to proceed or roll back..